Contents
The clustering service allows you to manage two load balancer Nodes in a way that ensures High Availability and prevents downtime. The two load balancers work together in an active-passive mode, with one node acting as the master and the other node acting as the backup.
The master node handles all traffic to the backends and client connections. The backup node continuously updates its configuration and stands ready to take over if the master node becomes unresponsive.
There are a few things to keep in mind when creating a cluster:
- Both load balancers must be running the same version of SKUDONET.
- Both load balancers must have different hostnames.
- Both load balancers must have the same NIC (network interface) names.
- Only the Master Node should handle configuration updates.
- You may need to configure your switching and routing devices to avoid conflicts with the cluster switching.
- It is recommended to implement a floating IP to ensure continuous service availability during cluster switches.
How to Configure Cluster Nodes on SKUDONET ADC
To set up a cluster:
- Go to the System > Cluster section on the ADC.
- Fill the form with the following information:
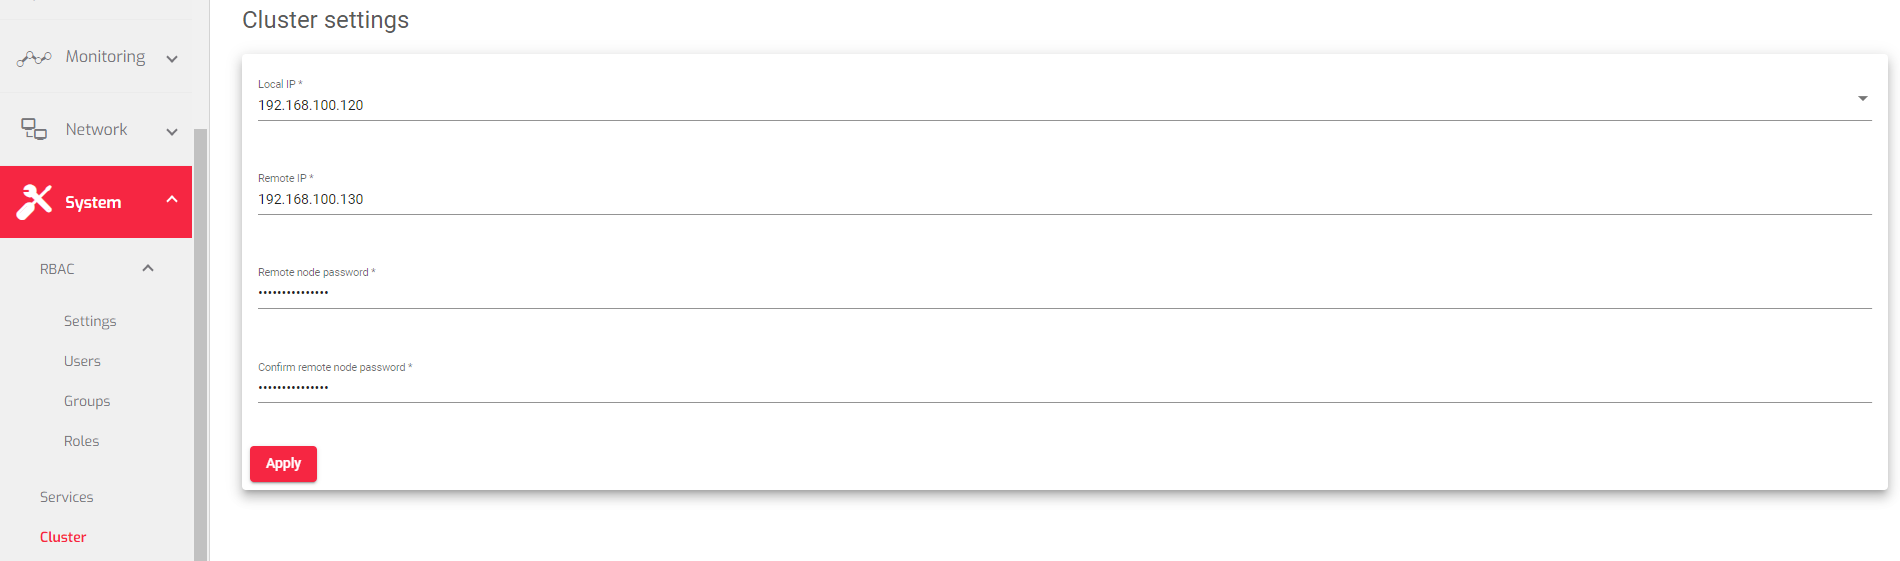 Local IP: Choose the network interface that will be used for managing the cluster. This interface cannot be a virtual interface.
- Remote IP: Enter the IP address of the node that will be the backup node.
- Remote node Password: Enter the password for the root user on the backup node.
- Confirm remote node Password: Re-enter the password for the root user on the backup node to make sure that you entered it correctly.
- Click the Apply button
- After the Master Node connects with the backup, Reboot the Backup Node.
Cluster Service Details
If the cluster service is already set up and running, you will see the following information about the services, backends, and actions that you can perform:
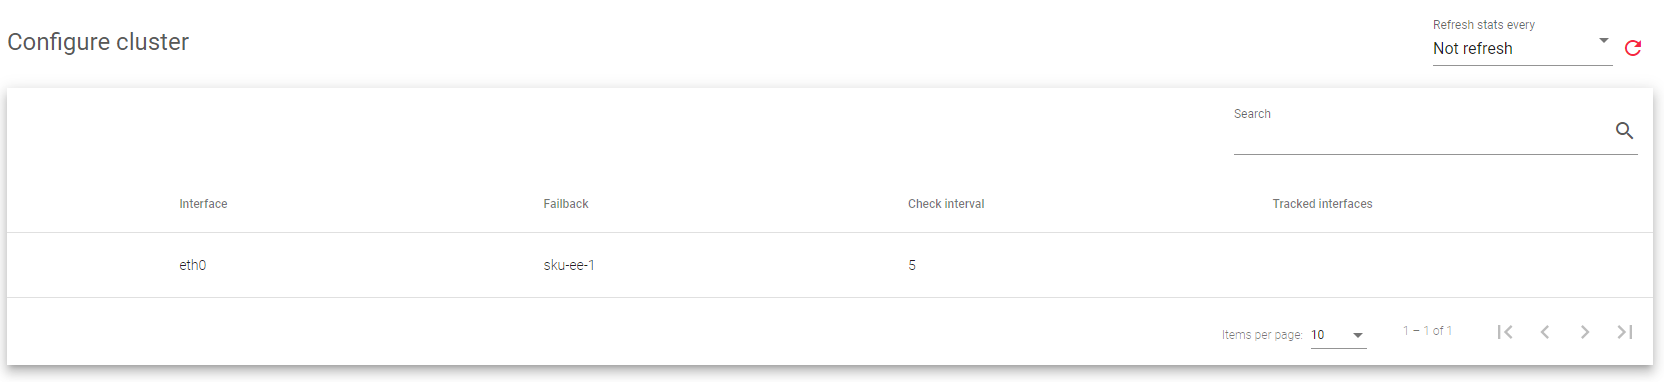
Cluster details:
Interface: The network interface that is used to manage the cluster services.
Failback: Whether the load balancing services should switch back to the master node once it is available again, or keep using the backup node as the master. This option is useful if the backup node has fewer resources than the master node, and you want the master node to be the preferred master for services.
Check Interval: How often the backup node checks the health of the master node.
Tracked interfaces: The network interfaces that the cluster is monitoring in real-time.
Actions: These are commands you can apply to each cluster service.
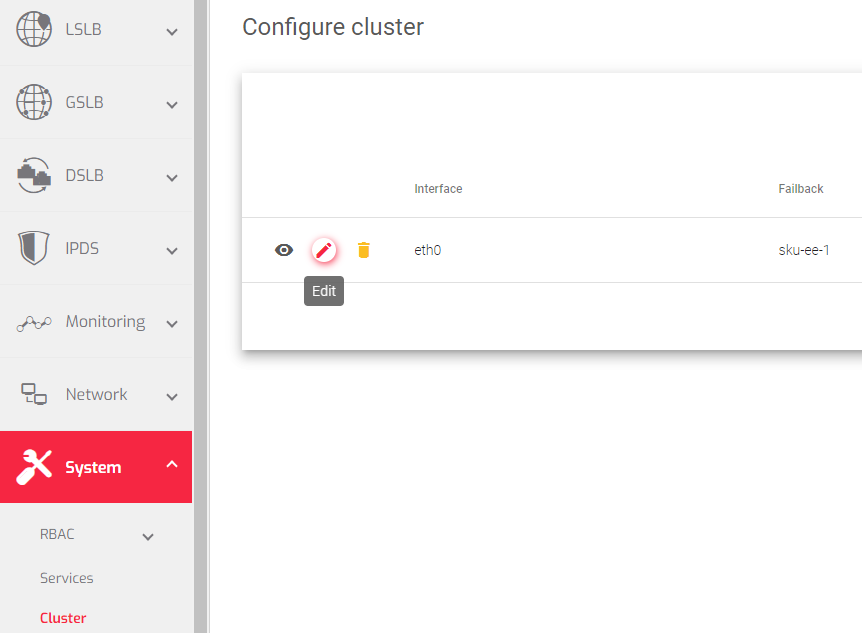
- Show: Displays a list of all the nodes in the cluster, and their current state.
- Edit: Modifies some of the configuration settings for the nodes in the cluster.
- Destroy: Deletes the configuration settings for a node and removes it from the cluster.
Showing Cluster Nodes
When you click the Show action button, shown in the previous section, it displays the following information:
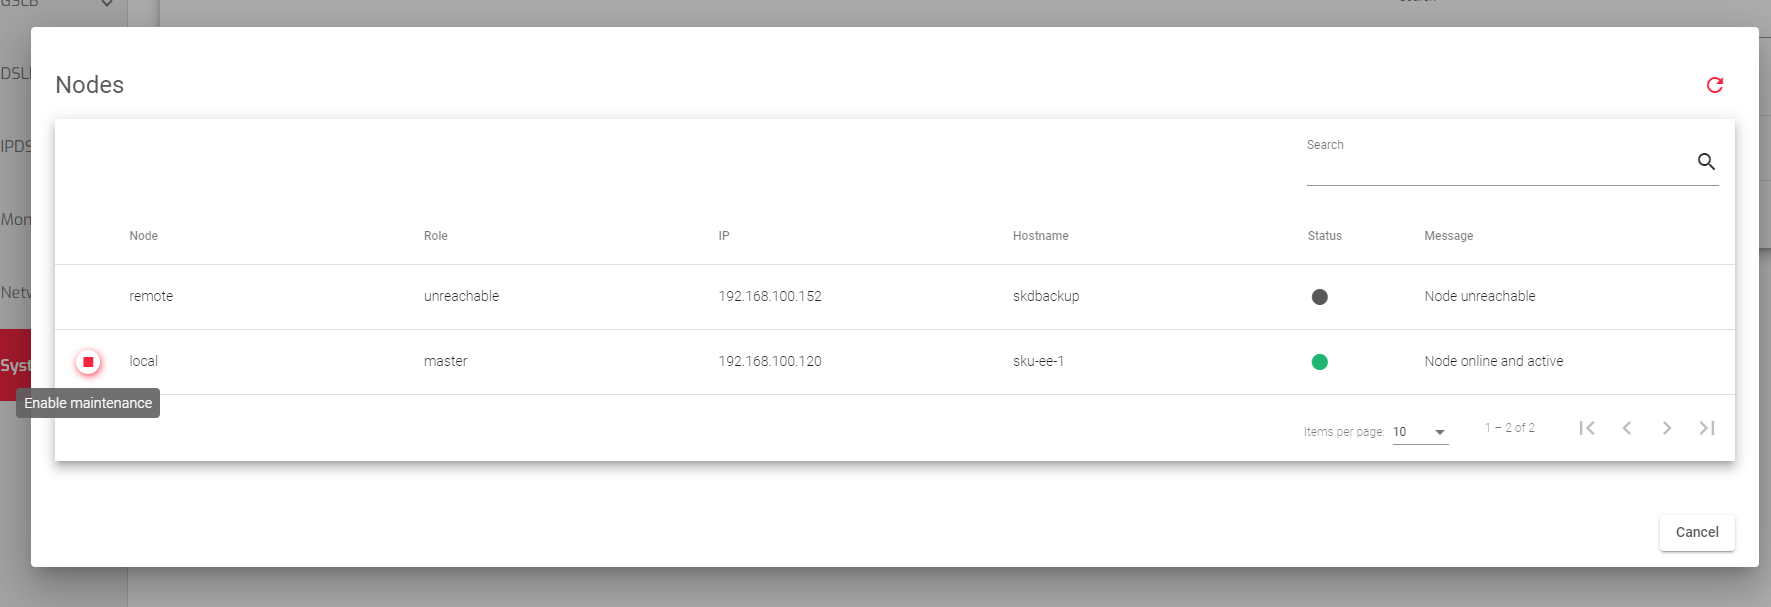
- Node: Whether the node is the one you are currently connected to (local), or the other node in the cluster (remote).
- Role: What the node is doing in the cluster, such as being the master node, the backup node, or being in maintenance mode.
- IP: The IP address of the node.
- Hostname: The name of the node.
- Status: Whether the node is healthy (Green), has a failure (Red), is unreachable (Grey), or is in maintenance mode (Orange).
- Message: A message from the remote node that provides additional information about the node.
Actions: Things you can do to the node, such as putting it in maintenance mode so that it is temporarily unavailable to the cluster and does not cause a failover. The available actions include; Enable maintenance and Disable maintenance depending on the state of the Remote node.
Updating a Cluster
To enter the cluster configurations page:
- Hover over the Node on the System > Cluster page and click the Edit button with a Pencil Icon.
- Edit the following details in the form:
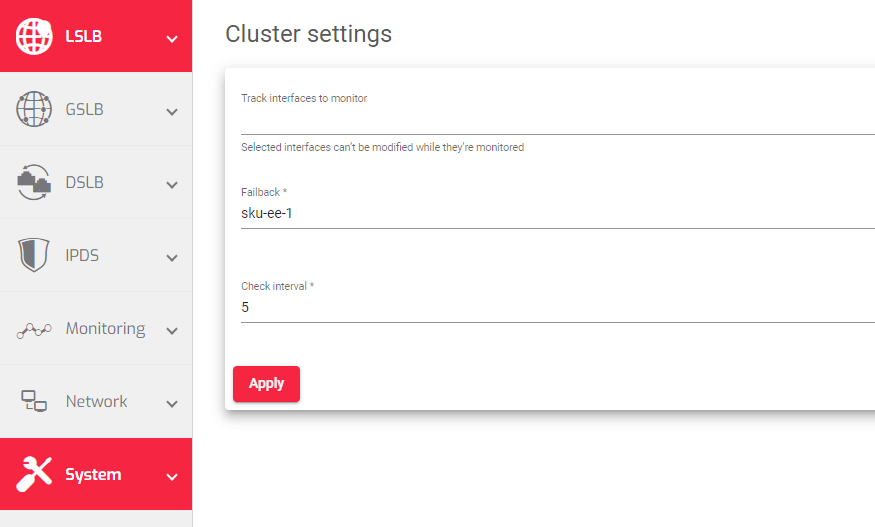
- Track Interfaces to monitor: Gather information from specific interfaces in your lists, such as LAN or VLAN.
- Failback: Choose which load balancer you want to be the master.
- Check Interval: Set the time between each health check from the backup node to the master node.
- Click the Apply button to save the changes you made to the cluster configuration.
Next Article: System | Backups
