Contents
Customizing Theme Colors and Brand Images
In SKUDONET ADC, one may customize the Web Interface to the feel of their brand. One may customize the background and text color, active background and active text color, and Content and Warning colors of the Main Content.
Furthermore, you have the option to personalize the brand images on the ADC. These images might consist of a logo, favicon, and more. Customizing these images and the colors of the interface is beneficial for keeping a consistent and recognizable brand identity.
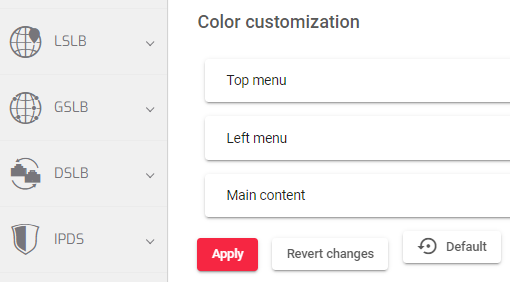
The theme settings contain three sections for customizing colors. These sections are:
1. Top Menu
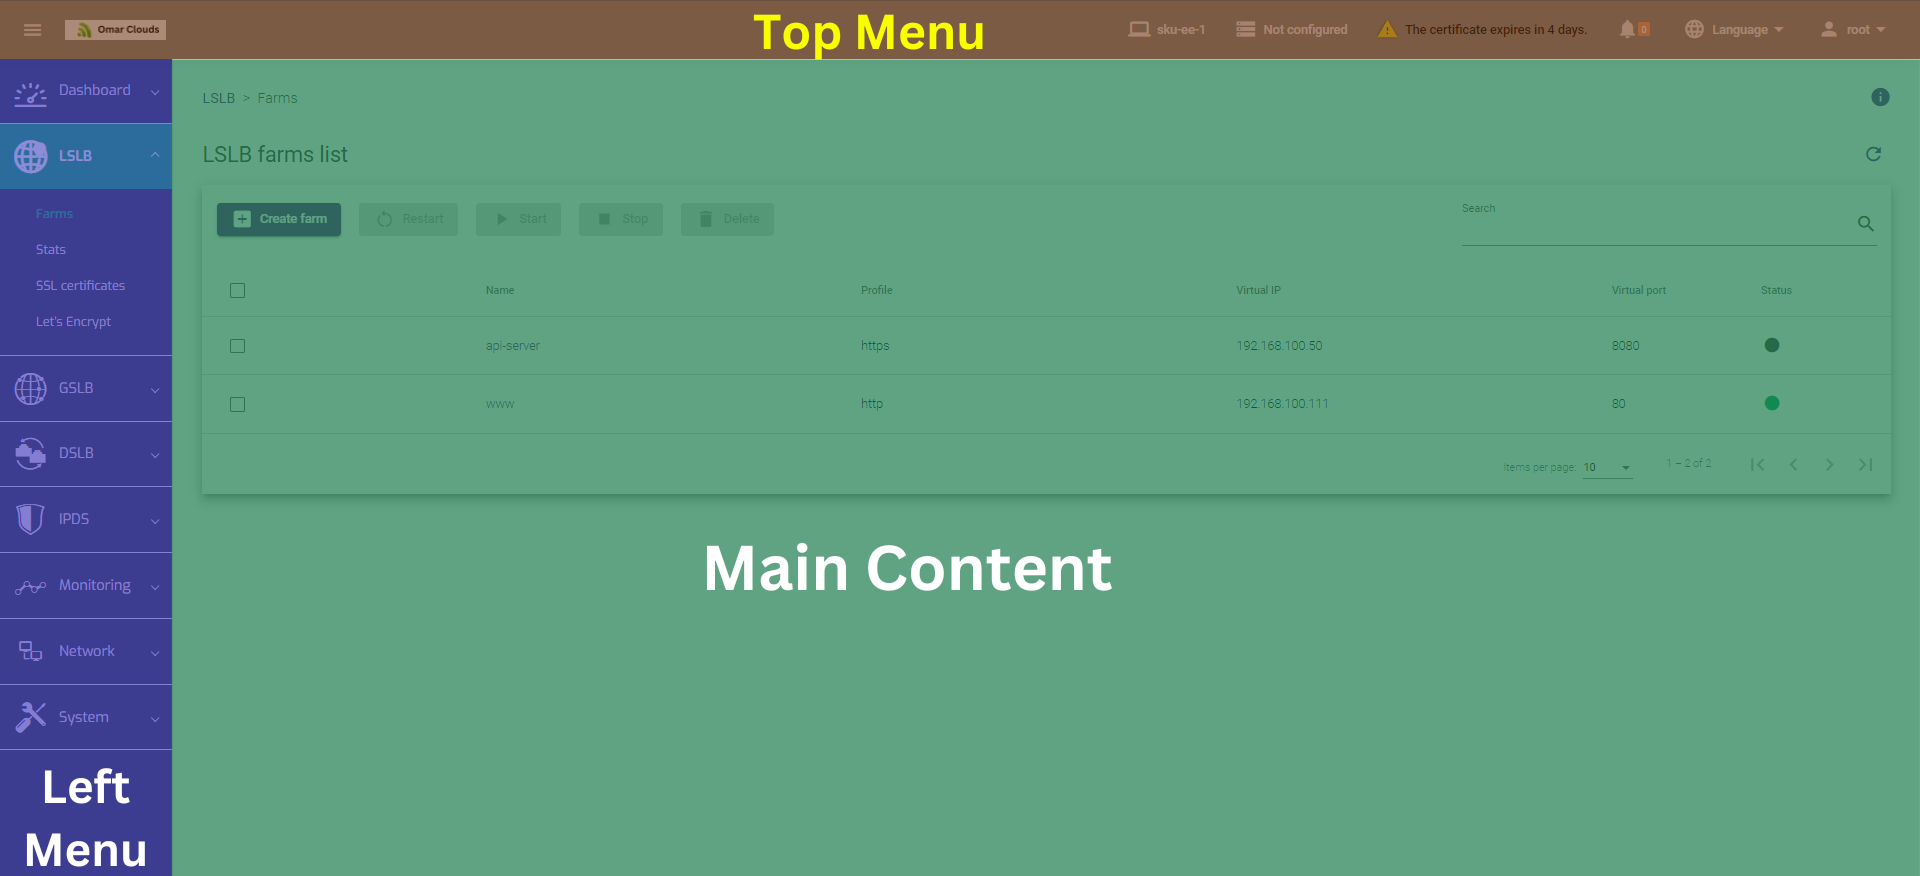
In this section, we primarily modify two elements: the background color and the text color.
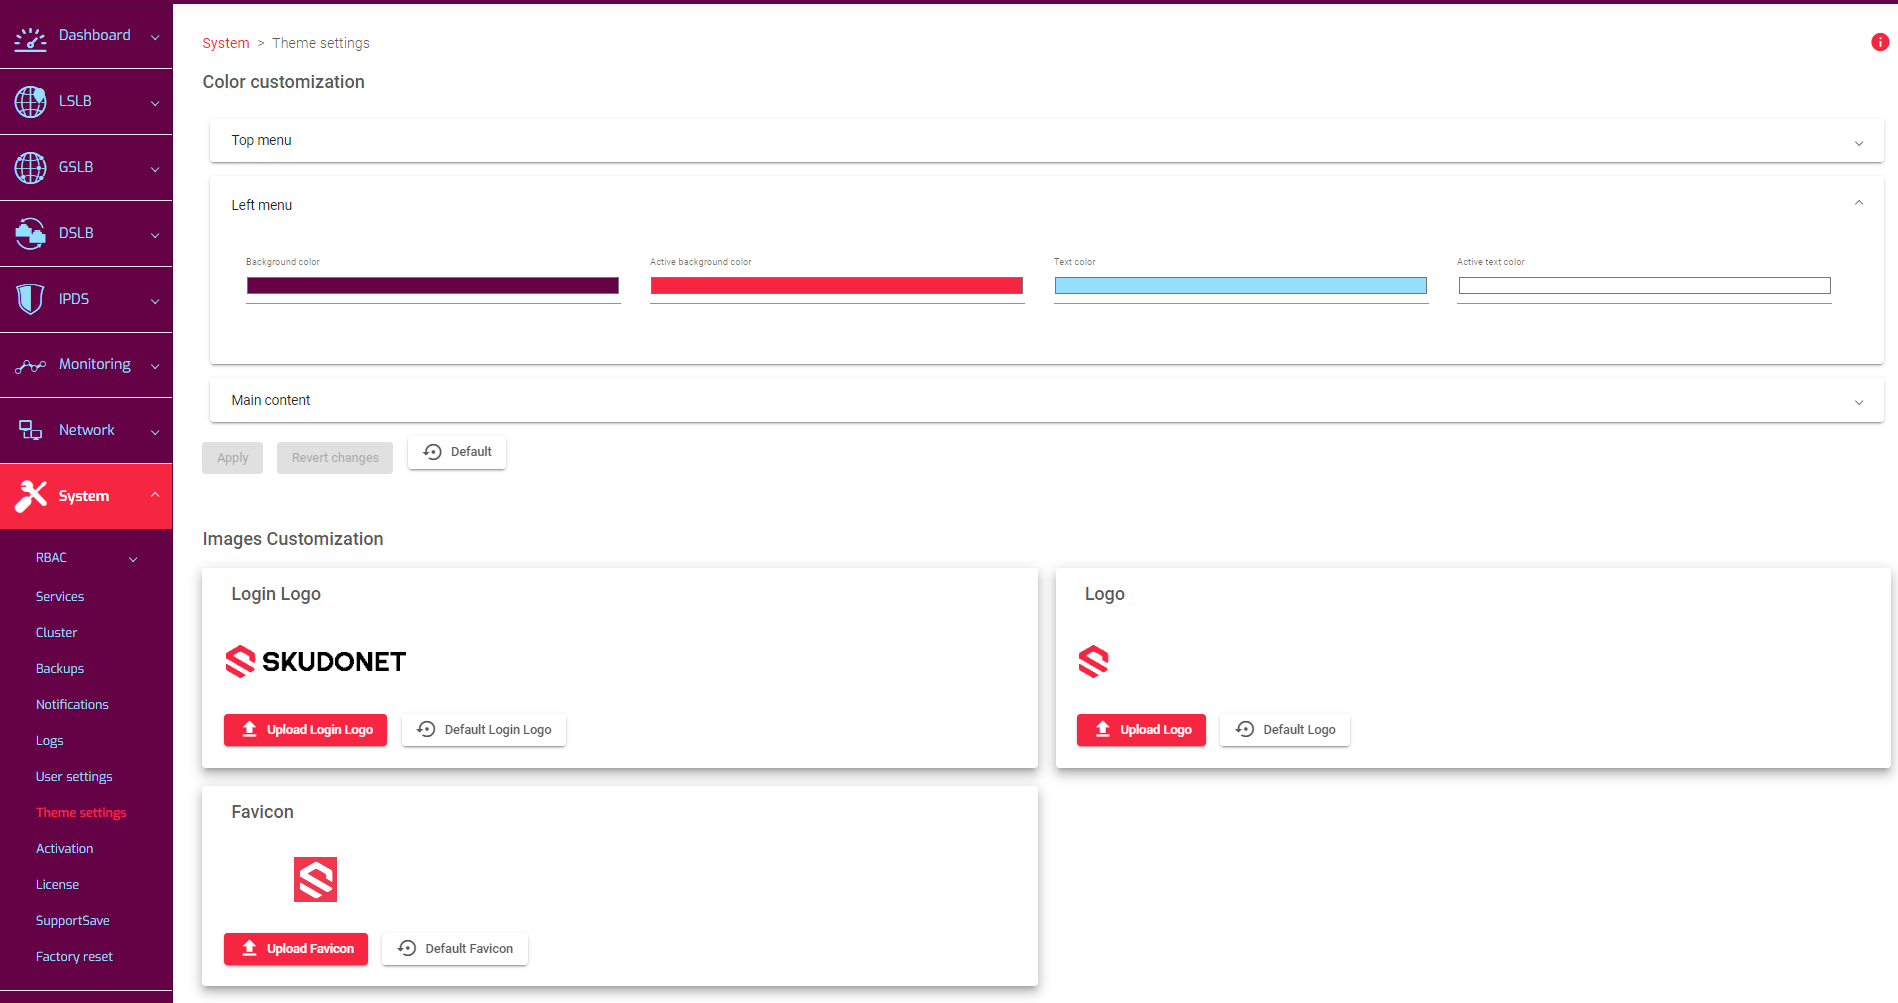
2. Left Menu
In this section, we primarily modify two elements: the background color, active background color, text color, and the active text color.
3. Main Content
In this section, we primarily modify two elements: the Content color and the Warning color.
- The Content color is the predominant color of the Main Content section
- The Warning color represents the color of all warning and error texts (e.g., when a mandatory parameter value is not filled) in the main section.
Below are the steps for customizing the Theme settings for the SKUDONET ADC.
Customizing the Header | Top Menu.
The Top Menu section has two assets to update, and these include. The background color and Text color. To customize any of these:
-
- Go to System > Theme Settings.
- In the Color Customization section, click the Top Menu option to expand it.
- To change the background color, click the horizontal box labeled Background color, and choose a color from the Color picker.
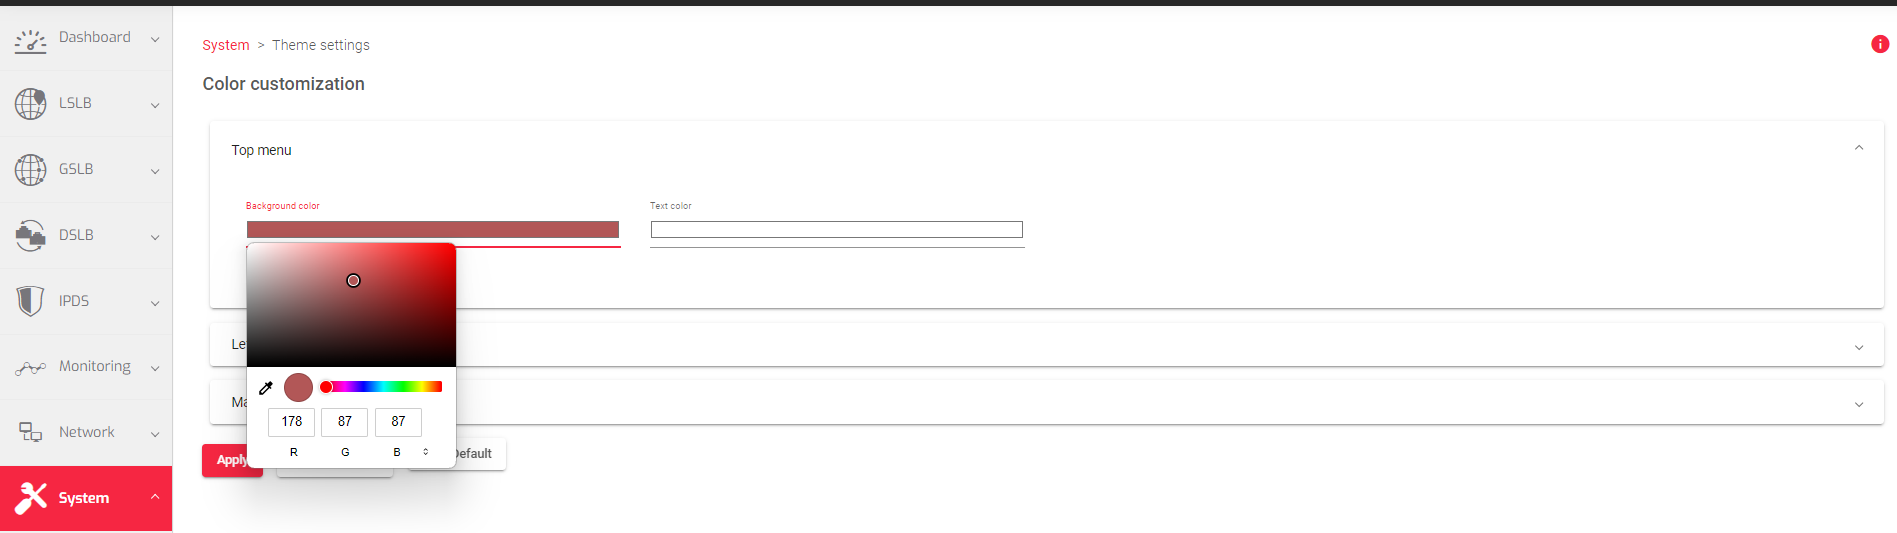
4. You could use the formats HSL, Hexadecimal, or RGB. Nevertheless, Click anywhere within the colored field to select the desired background color.
5. Click the Apply button.
This is how the Top Menu appears after changing the background color.

If you want to customize the Text color, simply follow the same instructions, but choose the option Text color instead of Background color.
Customizing the Sidebar | Left Menu.
The Left Menu section has four assets to update, and these include. The background color, Active background color, Text color, and Active text color. To customize any of these:
-
- Go to System > Theme Settings.
- In the Color Customization field, click the Left Menu option to expand it.
- To change the background color, click the horizontal box labeled Background color and choose from the Color picker.
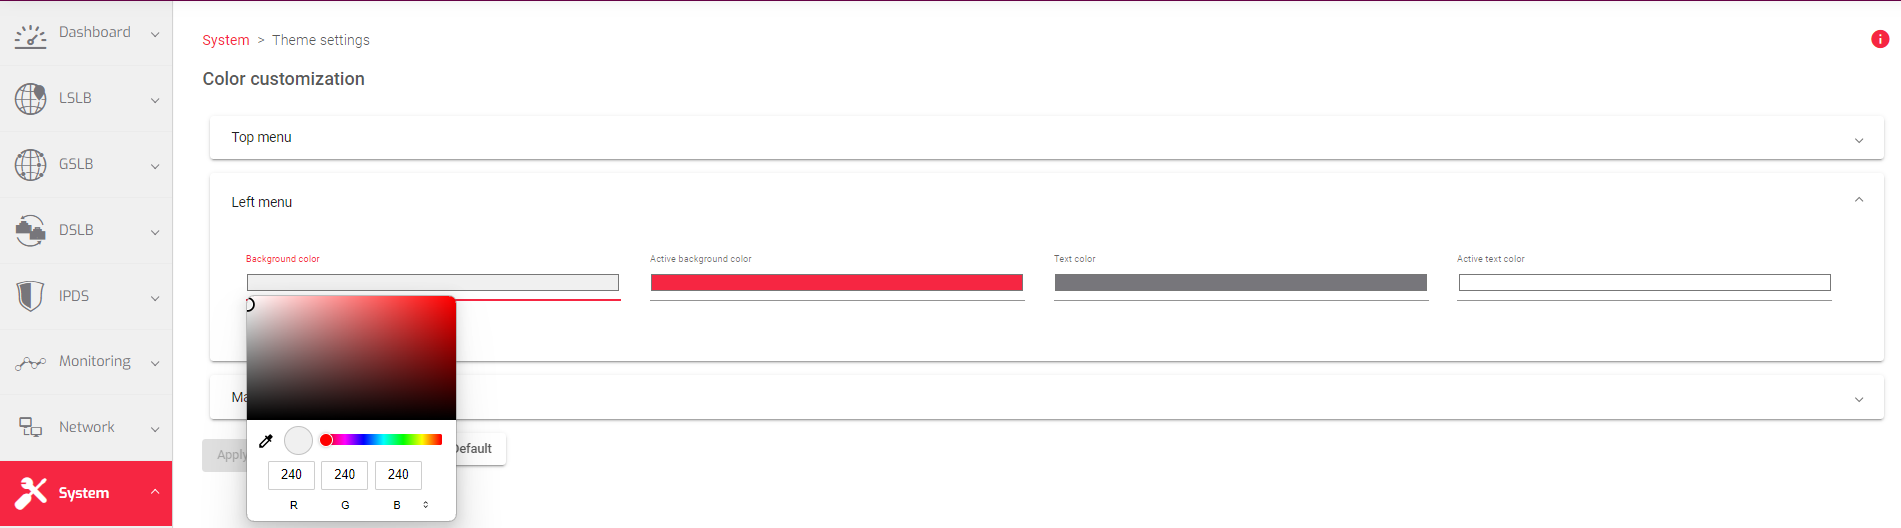
4. You could use the formats HSL, Hexadecimal, or RGB. Nevertheless, Click anywhere within the colored field to select the background color you want.
5. Click the Apply button.
This is how the Left Menu appears after changing the background color.
If you want to customize the Active Background color, Text color, or Active color, simply follow the same instructions, but choose the relevant option from the provided but not the Background color.
Customizing the Main Content.
The Main content section has 2 assets to update. Content Color and Warning Color. Modifying the content color will refresh the active color of buttons, icons, active sections, and particular name fields within a table.
To change any of these:
-
- Go to System > Theme Settings.
- In the Color Customization field, click the Main Content option to expand it.
- To change the content color, click the horizontal box labeled Content color, and choose from the Color picker.
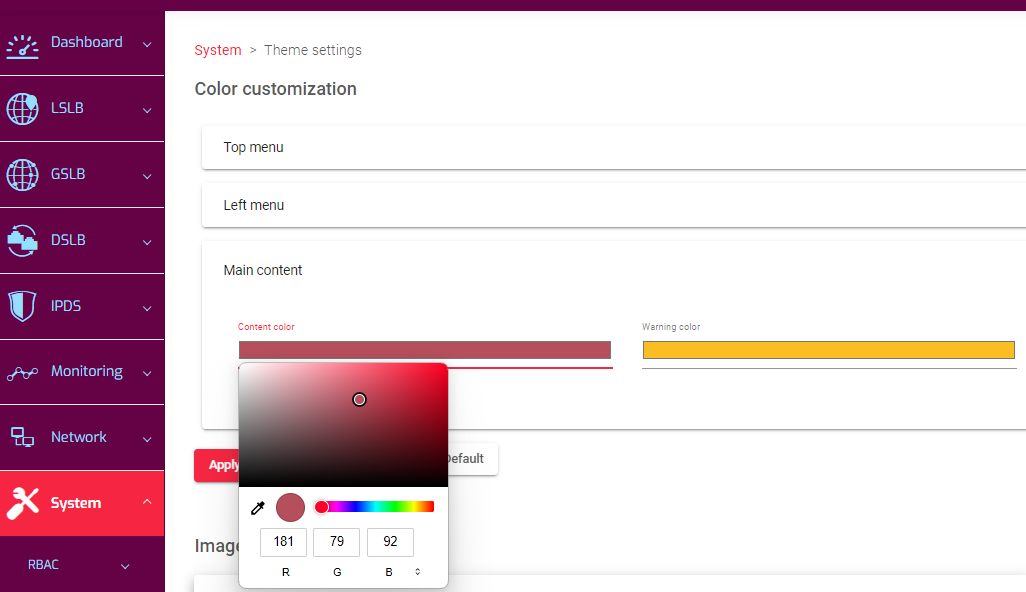
4. You could use the formats; HSL, Hexadecimal, or RGB. Nevertheless, Click anywhere within the colored field to select the background color you want.
5. Click the Apply button.
If you want to customize the Warning color, simply follow the same instructions, but choose the option Warning color instead of Content color.
Important notice.
- Unsatisfied with your adjustments? Click Revert changes to return to the previous configuration.
- Prefer SKUDONET’s expert configuration? Click Default to restore the initial settings.
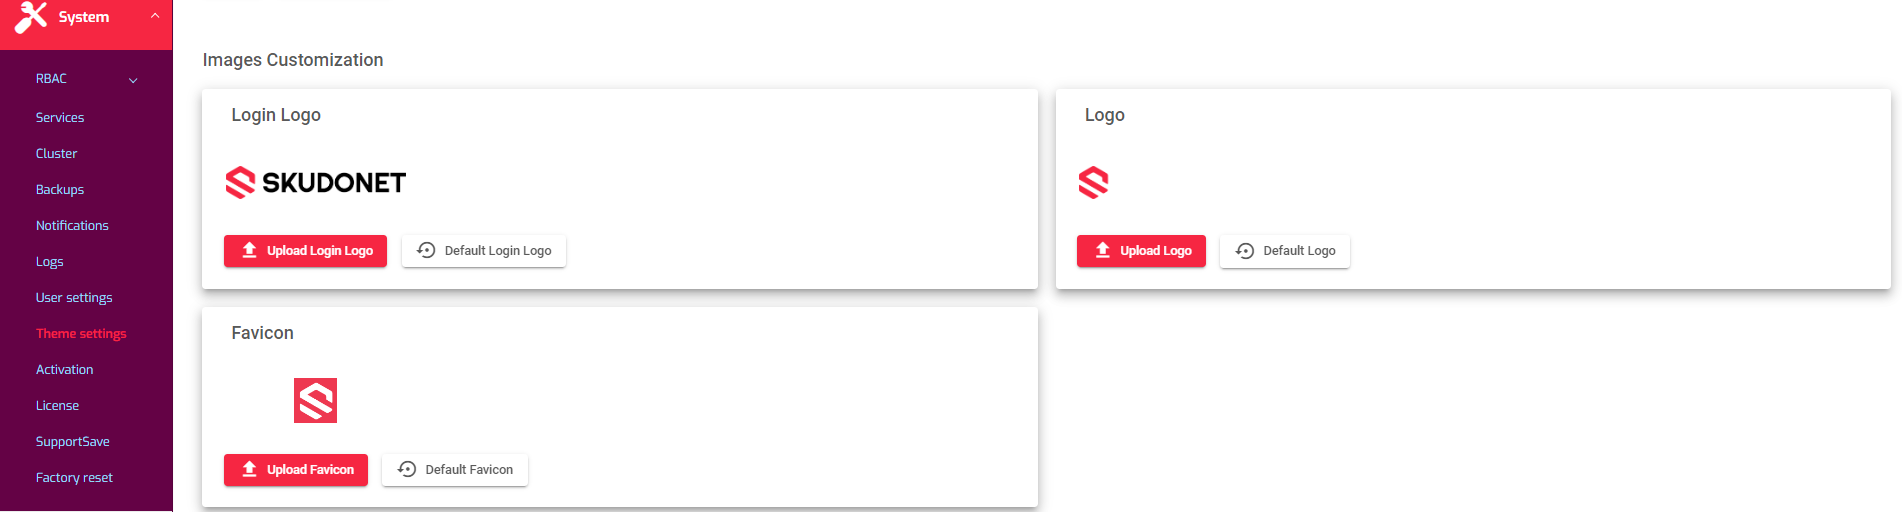
Customizing Appliance Images.
This section allows users to upload branding images, which will replace the default images uploaded by the SKUDONET development team.
To Upload a Logo to the ADC:
-
- Go to System > Theme Settings.
- In the Image Customization field, click the Upload Logo button.
3. Choose an image from your local device, “keeping in mind the type of image”.
This is how the Uploaded Logo appears after uploading a new one.
![]()
Upon logging out of the appliance, the same logo should be visible.
![]()
If you wish to include an additional custom brand image like the Favicon, just follow the same steps, but this time, avoid choosing Upload Logo again.
Important Notice!
- For logos, use PNG files, and for icons, use the ICO file format.
- To revert to the images supplied by the SKUDONET team, click on the Default buttons.
Next Article: Activation certificate
